Photo Tips from the Pros Series: Danielle Scepanovic
Text & Image: Danielle Scepanovic
As I became more familiar with my camera and the basics of photography, I started to push myself to be more creative with my camera lens. One of the easiest ways to do this, I’ve found, is to revisit a place when the sun is leaving the sky or when it’s dark out!
Since I began to spend more time in provincial parks, I pushed myself to go watch the sunset. By doing this, I learned some of the best secrets to capturing a good sunset photo, which you can take even further with friends by playing with silhouettes.
1) Check when the sun is supposed to set that night. This way you can plan your photography adventure accordingly to capture the best moments of the sunset. I prefer to arrive about 30 to 45 minutes before the sunset, but if you don’t have that kind of time, 10 to 20 minutes is okay too. Arriving earlier allows you to set up your camera for the lighting that night, and I find that the longer I sit there with my camera the more interested I become in the emerging colours of the evening sky.
2) Always, always, always stay after the sun has set! Most people tend to leave once the sun disappears from the horizon, but from experience, this is when the sky starts to get interesting. After the sun disappears from the horizon, the light is still shining from the sun, but instead of the sun being the centre of attention, the beautiful cloud shapes are filled with warm tones of orange and yellow, and sometimes even a bright ruby red. I promise you, it is worthwhile to sit with your camera at least 30 to 45 minutes after the sun has officially set.
3) Constantly check your camera setting if you are shooting in manual mode. As the sun journeys from its high point in the sky to below the horizon¸ you will notice that it gets darker, making it harder for your camera to capture the spectacular colours that you are seeing with your own two eyes. Don’t worry! I struggled with this for a while, but I learned the trick: continue adjusting your ISO. Your ISO setting, as well as your aperture, have to continue adjusting to the amount of light in the sky to maximize the ability of your camera’s lighting sensitivity.
The ISO determines how sensitive your camera sensor is to the light – so on a bright sunny day, 100 or 200 ISO is great, but as the light starts to disappear from the sky, you need your camera to be more sensitive to the light in order to capture those beautiful colours. So, as the sun disappears from the horizon, slowly increase your ISO. This will take some practice.
The same idea applies to your aperture settings. Your aperture (F-stop) is the width of your lens opening, and it ranges from F5.4 to F24, for most basic camera lenses. Your camera lenses can be smaller (higher F-stop) in brighter lighting conditions, however, as the sun starts to disappear from the sky, you need to have your aperture lower (wider opening) to work with your high ISO to capture all of the colours that you see in the sky.
You may have noticed that sunset photos take just as much planning as skill – remember this! Also, it’s great to go back to the same place multiple times because you can practice adjusting your camera without your surroundings changing much.
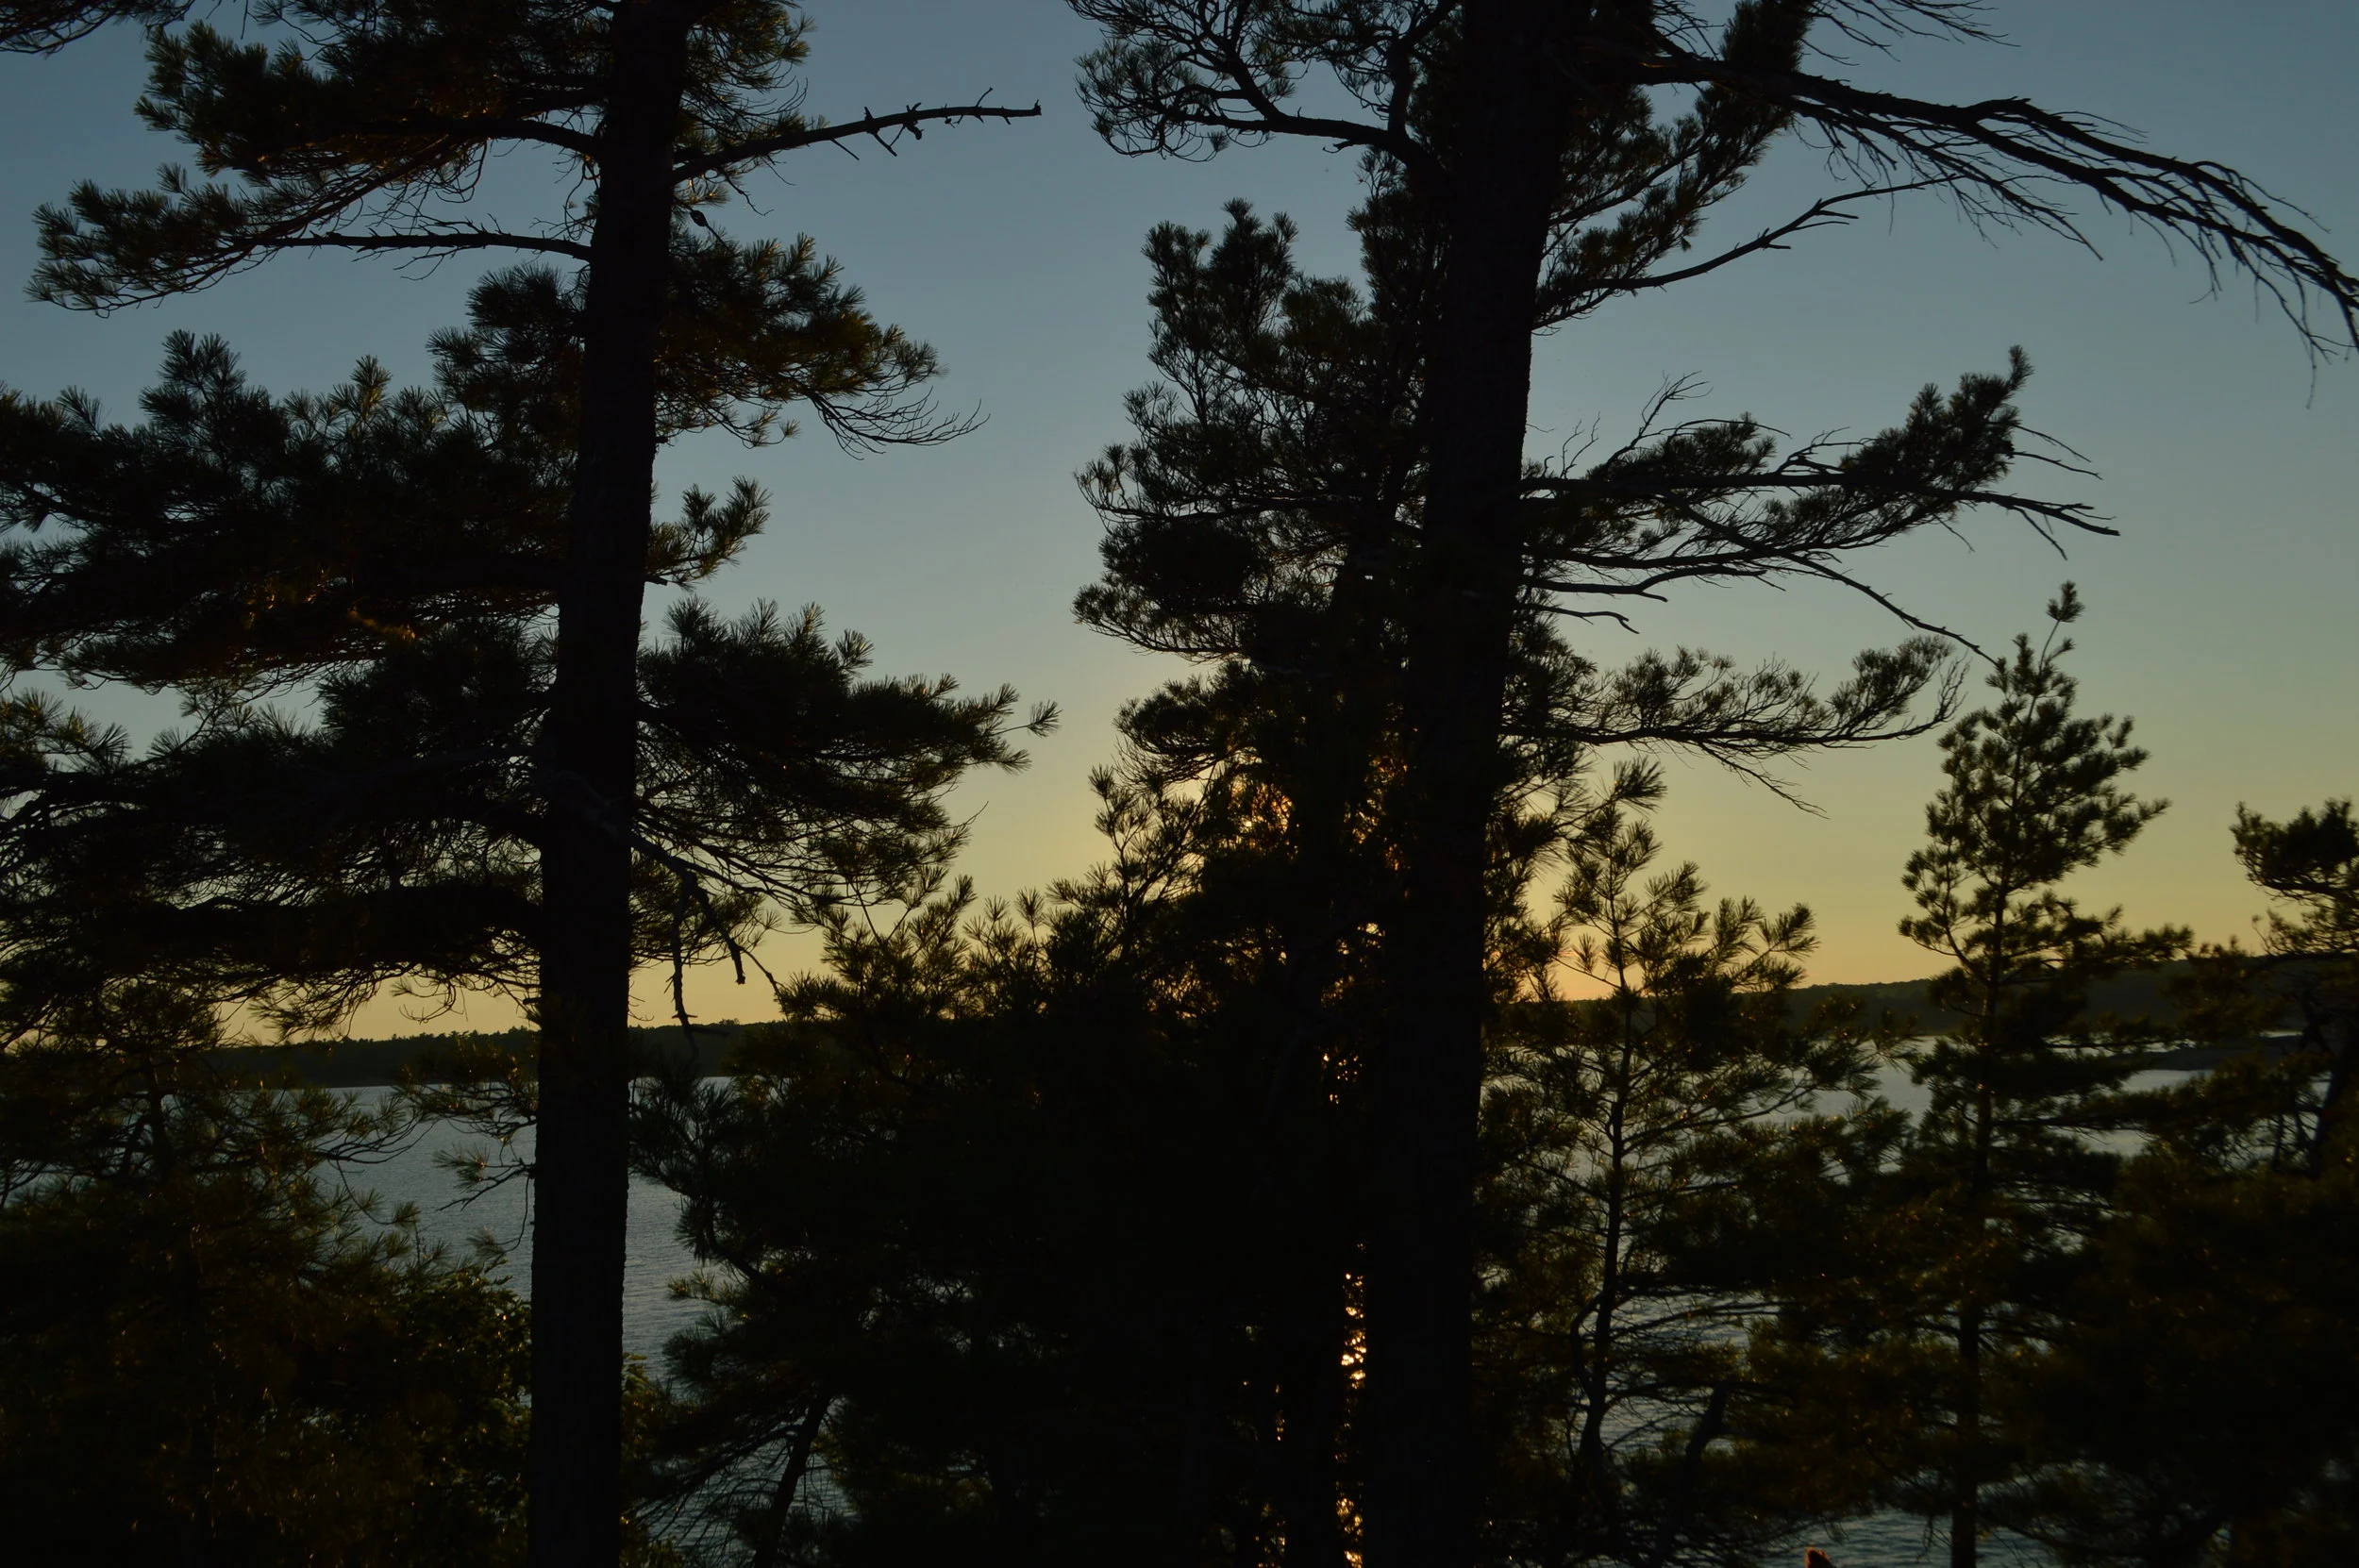
And, if you want to have a little more fun, poking your camera through trees, over a rock, or get your friends and family in front of your camera! Black silhouettes will always make a sunset even more interesting.
Instagram: @newperception